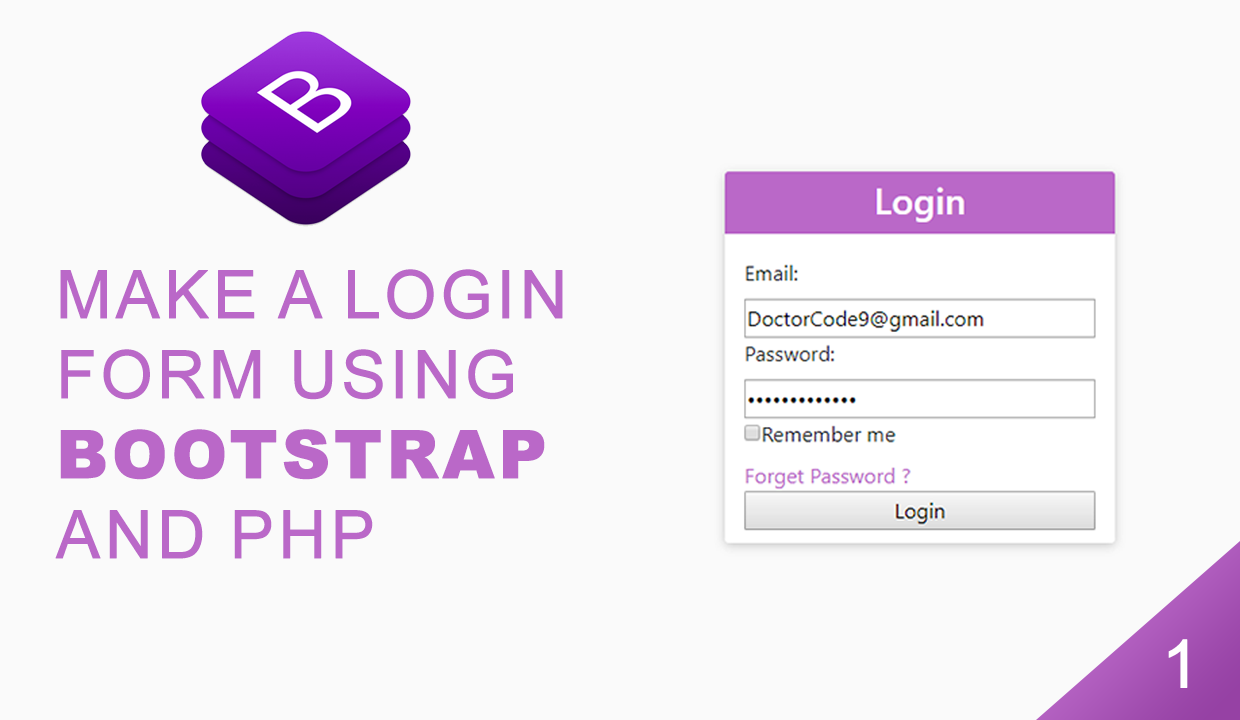
This new series of tutorials will teach you Bootstrap by example, we decided to post a daily project that we made using Bootstrap, and at the same time, we will teach you what is bootstrap, how to use Bootstrap, and what kind of project that can be made using Bootstrap.
in this tutorial we will see 3 main things:
- what is bootstrap
- how can we use it
- how to make a login form using Bootstrap
and know we will begin with the first question.
What is Bootstrap?
Bootstrap is a free and open-source CSS framework. it contains CSS and, optionally, JavaScript-based design template for Typography, Form, Navigation and other UI Component.
to resume, Bootstrap is a set of CSS code that will automatically style your website. it will make you work faster and will make you write less code.
How can we use it?
using Bootstrap is pretty simple, only what we have to do is to go to Bootstrap website. press Get started and then all that we have to do is to copy the CDN and ads it to our main file
the CDN look like this :
and that's it after we have copied our CDN we can use Bootstrap.the CDN look like this :
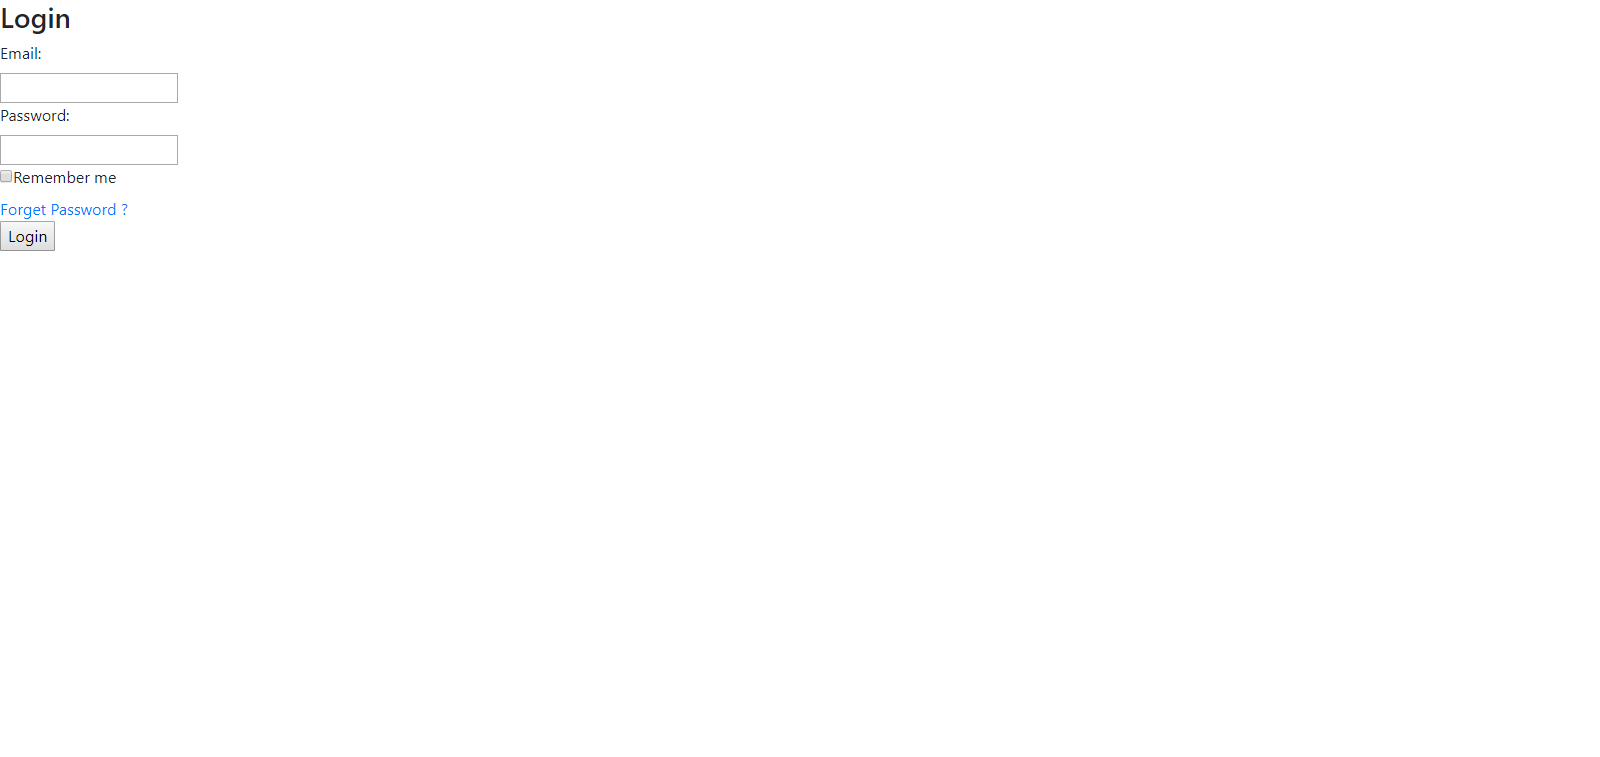
<link rel="stylesheet" href="https://stackpath.bootstrapcdn.com/bootstrap/4.3.1/css/bootstrap.min.css" integrity="sha384-ggOyR0iXCbMQv3Xipma34MD+dH/1fQ784/j6cY/iJTQUOhcWr7x9JvoRxT2MZw1T" crossorigin="anonymous">now let's make our login form. for that, we will make a simple form that contains two input filed and labels.
and this is our code what will look like
<!doctype html>
<html lang="en">
  <head>
    <!-- Required meta tags -->
    <meta charset="utf-8">
    <meta name="viewport" content="width=device-width, initial-scale=1, shrink-to-fit=no">

    <!-- Bootstrap CSS -->
    <link rel="stylesheet" href="https://stackpath.bootstrapcdn.com/bootstrap/4.3.1/css/bootstrap.min.css" integrity="sha384-ggOyR0iXCbMQv3Xipma34MD+dH/1fQ784/j6cY/iJTQUOhcWr7x9JvoRxT2MZw1T" crossorigin="anonymous">
    <link rel="stylesheet" href="main.css">
    <title>login form</title>
  </head>
  <body>

        <div class="Login">
            <h3>Login</h3>
            <form>
                <label>Email: </label><br>
                <input type="text"><br>
                <label>Password: </label><br>
                <input type="password"><br>
                <input type="checkbox"><label>Remember me</label><br>
                <a href="#">Forget Password ?</a><br>
                <button>Login</button>
            </form>
        </div>
  </body>
</html>
and the result will be like this
for that, we will add these line of code on our CSS file
body{
    background-color: #fafafa;
}

.Login{
    position: absolute;
    left: 50%;
    top: 50%;
    transform: translate(-50%,-50%);
    background-color: #fff;
    width: 300px;
    border-radius: 3px;
    overflow: hidden;
    box-shadow: 0 2px 8px rgba(84,84,84,.3);
}
.Login h3{
    background-color: #ba68c8;
    padding: 5px 0 10px 0;
    text-align: center;
    color: #fff;
}
.Login a{
    color: #ba68c8;
}
.Login form{
    padding: 10px 15px;
}
.Login form input[type="text"]{
    width: 100%;
}
.Login form input[type="password"]{
    width: 100%;
}
.Login form button{
    width: 100%;

}
and that's it we have completed our Login form using Bootstrap and it was very easy and simple
now let's see together what the result looks like.

DESIGN A LOGIN FORM USING BOOTSTRAP
 Reviewed by Medics
on
June 04, 2019
Rating:
Reviewed by Medics
on
June 04, 2019
Rating:
Reviewed by Medics
on
June 04, 2019
Rating:


No comments: