
Hello everyone and welcome to a new tutorial. In this tutorial, I will show you how to make a custom android button using Android Studio.
let's start by creating a new Android Studio project and call it "custom button". we will add a button to our view
 |
| step1: create a new project |
 |
| Add a name to your project |
 |
| now delete the text view |
now that you created your project let's start coding. First, we will need to create a Button instead of TextView so we will delete the text view and create our button.
<?xml version="1.0" encoding="utf-8"?><androidx.constraintlayout.widget.ConstraintLayout xmlns:android="http://schemas.android.com/apk/res/android"    xmlns:app="http://schemas.android.com/apk/res-auto"    xmlns:tools="http://schemas.android.com/tools"    android:layout_width="match_parent"    android:layout_height="match_parent"    tools:context=".MainActivity">
    <Button        android:layout_width="wrap_content"        android:layout_height="wrap_content"        android:text="Simple Button"        app:layout_constraintLeft_toLeftOf="parent"        app:layout_constraintRight_toRightOf="parent"        app:layout_constraintTop_toTopOf="parent"        app:layout_constraintBottom_toBottomOf="parent"        /></androidx.constraintlayout.widget.ConstraintLayout>
now we will need to make our button background, to make this we need to follow these steps:
- go to res folder and in drawable create a new drawable resource file
- name your drawable ressource file as you wish but don't forget that your file's name must not contain any uppercase character.
 |
| create a drawable file |
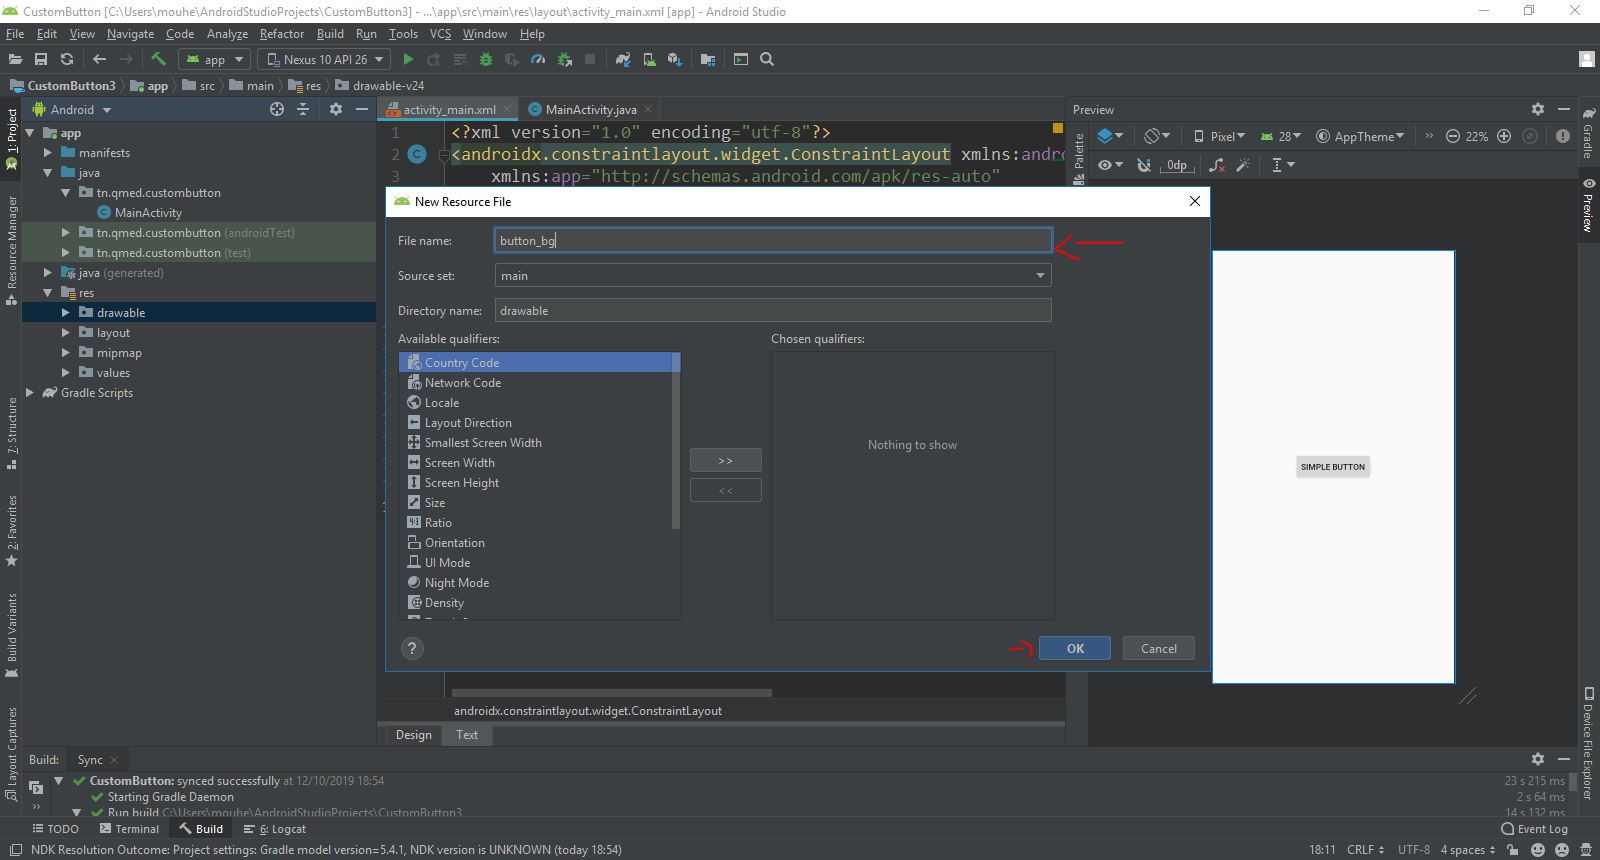 |
| choose a name for your file |

now we will start to add some line of code, but before we do that we need to import our button assets into our drawable file.
 |
| btn_default.png |
 |
| btn_pressed.png |
now copy these image assets inside your drawable folder and copy this code:
<?xml version="1.0" encoding="utf-8"?><selector xmlns:android="http://schemas.android.com/apk/res/android"> <item android:state_pressed="true" android:drawable="@drawable/btn_pressed" /> <item android:state_focused="true" android:drawable="@drawable/btn_default" /> <item android:drawable="@drawable/btn_default" /></selector>
and now we will add the background to our main_activity

and run your project and you will see how it will work. I hope that you liked this project if you want to see more project like this don't forget to comment below.
Learn how to make a custom button in Android Studio
 Reviewed by Medics
on
October 12, 2019
Rating:
Reviewed by Medics
on
October 12, 2019
Rating:
Reviewed by Medics
on
October 12, 2019
Rating:


No comments: